Free shipping on qualifying domestic orders over $50
Shrinky Dinking with Kirsten Part 2
July 13, 2016
Since my last shrink film project was so fun and there were still a few sheets left in the package I decided to make something else to shrink.
Ya'll, it's addicting and oh so easy. Woohoo!
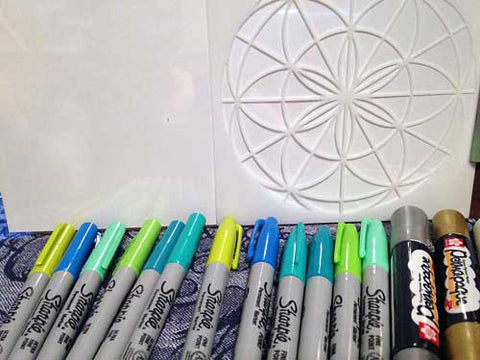
This time I grabbed my absolute favorite stencil from the Sacred Geometry 2 stencil set, a white Sharpie water-based paint marker, Permapaque markers in bronze, silver, gold and white, and lots of regular colorful Sharpies.
I used a clipboard to hold my stencil in place on top of the shrink film. I also had a plain white sheet of paper under the film so I could see my colors better.

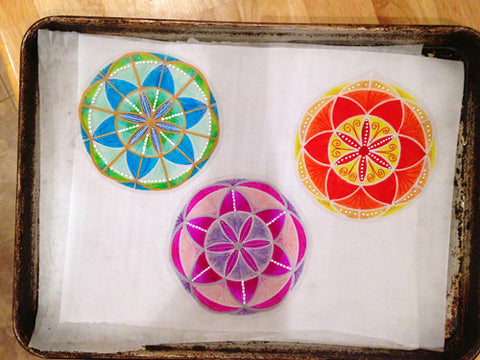
Then I picked out several shades of a few colors, traced the stencil and filled in the shapes. You can blend two colors of sharpies together on the film and make beautiful gradients. Don't worry if your sharpie color looks really light because it will darken after it is shrunk.
It is up to you and your imagination how you go about decorating the stencil design!

When finished with the coloring and embellishing cut out the charm. If your charms need a hole in them for hanging now is the time to punch one. When you cut out your shape you can include a tab like shape where a hole can go if you do not want to punch a hole into your design. Remember that the hole size will shrink too so use a larger size than what you need. I've found 3/16" or 1/4" to be good sizes.
Shrink according to the package directions.

Didn't they turn out so cute and fun! I can see these mounted on a handmade greeting card, made into a mobile or attached to the cover of a sketchbook. Again, your imagination is the only limit to what you can come up with.

I hope everyone is enjoying their Summer and take a little time to try this project. You'll be glad you did!
SaveLeave a comment
Comments will be approved before showing up.

